Artikel: EVIGHEDSBUKET
PERPETUAL BOUQUET
PERPETUAL BOUQUET - STEP BY STEP
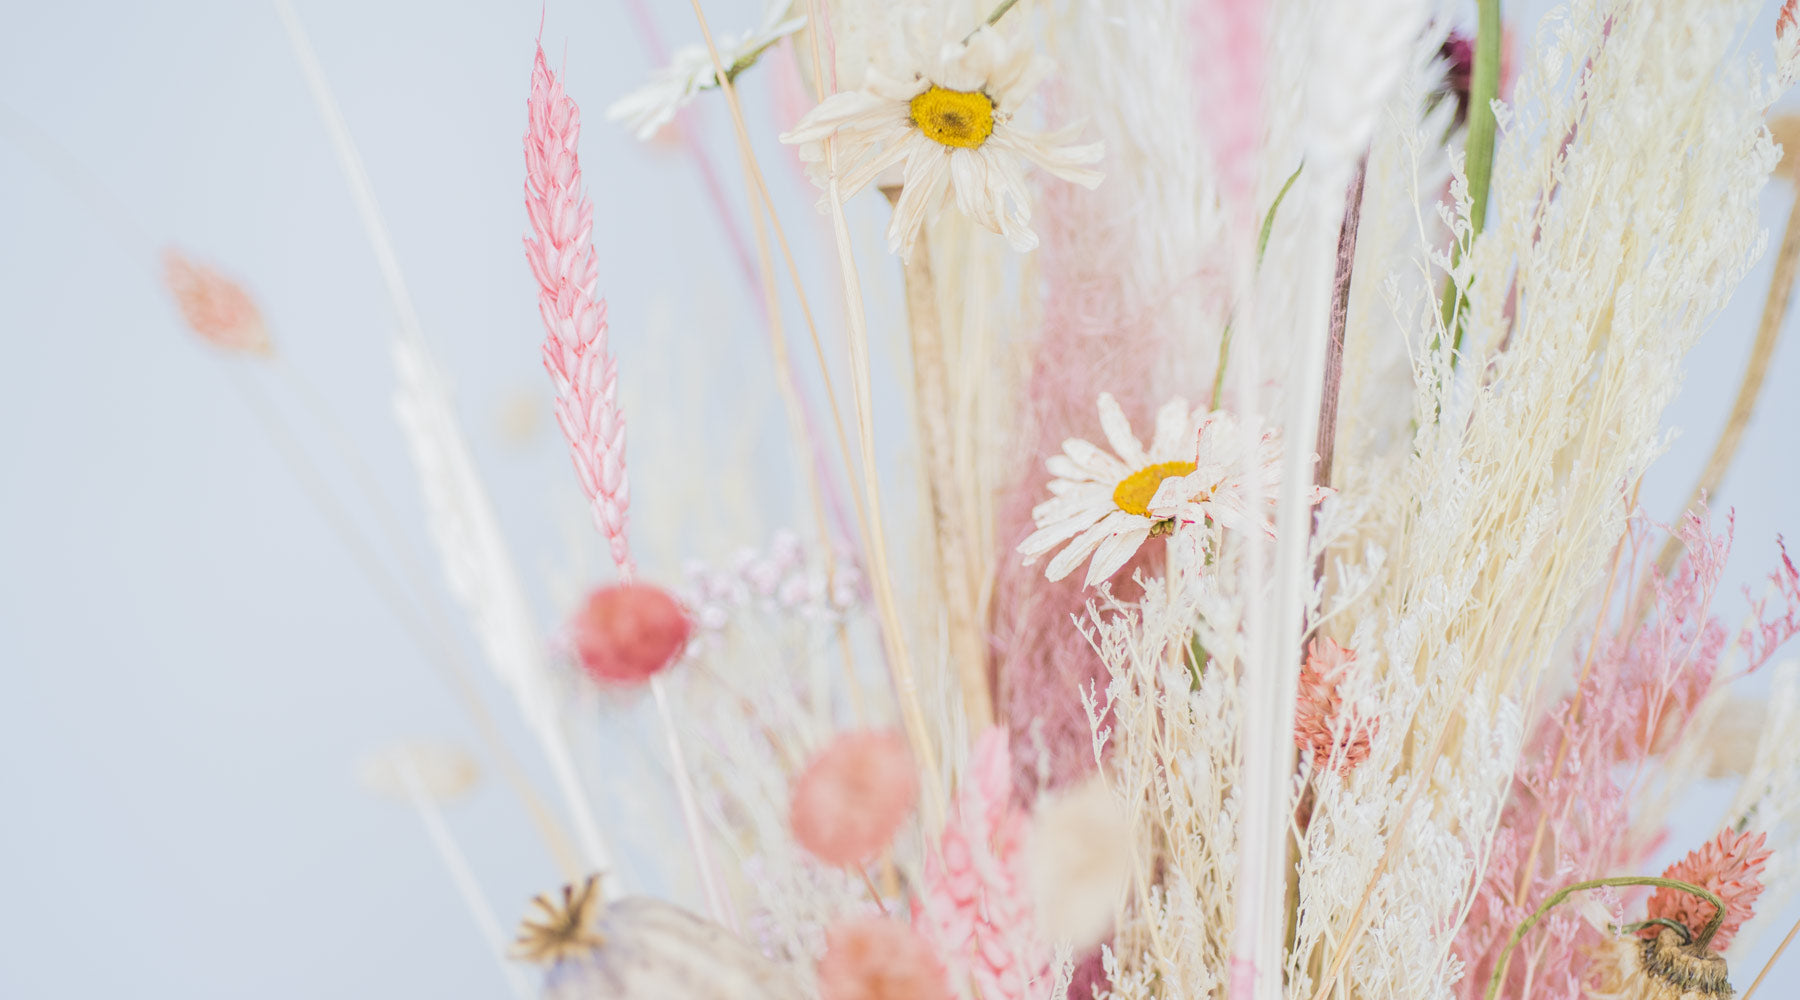
A cornucopia of silhouettes, delicate colours and a shelf life that surpasses everything except the plastic pendant, which is also the less charming - that's how we know the perpetual bouquets, which despite steadily increasing popularity are not necessarily to dust up in the very country. Do not worry, there is help to be found from several fronts and if you have the courage on a weekend project, you have ample opportunity to put your very own stamp on dín bouquet. Incidentally, we were mentioned that the bouquets are ok budget-friendly - depending on where all-in you go of course? Below you can see how we did and what it ended up in.
SPOILER:
If you're the impatient type, we have a useful trick at the bottom of the post.
WE HAVE USED THIS:
Plants / flowers / grasses
- Canary grass
- Pampasgrass
- Bridal veil
- Valentine's Grass
- Wheatgrass
- Daisies
- Poppy capsules
- Drumsticks
We bought into our local florist and found the rest in a field nearby.
Other paraphernalia
Chlorine
- Pasta colour
- Water
- Glass containers
- Cord for drying
- Gloves
HERE'S HOW WE'VE DONE IT:
00. Starting point
First of all, we have dried our flowers and grasses - hang them with the stem in the air in the warmered room you have. If you are equipped with a patience that is in no way to boast, you can also dry them in the oven - 75 degrees hot air until they are dry.
When your entire arsenal of floral splendour is dry you can either;
A. Use them as they are.
B. Bleach and or color them.
One does not rule out the other, some flowers can easily be fine in themselves while others stay on the border of enchanting with a little help.
01. Fade them
Pour chlorine into a container that is appropriate in size to what needs to be bleached - select your stems and stick them in the container. Make sure that everything to be bleached is below the surface. Lock them with tape to your container so they don't just get out of the container again. The longer you let them drag, the brighter they get. In our case, bleaching worked best for relatively solid species - canary grass, valentine's grass, wheatgrass, poppy capsules and drumsticks. Pampas grass can be bleached using an atomizer filled with chlorine.
Pale also like grass species you think to dye - then the color is most clearly expressed. Hang the stems that should not be stained to dry - remember that chlorine bleaches, so make sure a substrate that does not damage.
02. Color them
Mix your favourite pasta colours with water in glass containers - the mixture should be reasonably scratchy so that your dried and, or bleached stems have the opportunity to soak up some colour. Some have stood for half an hour, giving a delicate pastel, some have pulled for 12 hours, giving a more penetrating color - depending on how powerful your liquid is. Look to them along the way and assess when enough is enough.
03. Dry them
When you feel that the color is sitting right in the cupboard it's time for another drying - hang them together with your bleached stems and let them dry well before continuing.
04th Bind them
The culmination of your patience test - combine your stems exactly as you like; high, low, wild or systematic! Place your eternity bouquet in a vase and enjoy it for as long as you like!
Tip
If you just want a beautiful bouquet without spending either time or much money, eBay is a true floral mecca - even when it comes to the dried kind. Here you can find both dried, bleached and coloured stems for virtually no money - the delivery you have to wait for, but it is well spent. Below are a few keywords:
- Bunny tail grass
- Valentine's grass
- Baby's breath
Daisy
- Natural wheat
Please add words such as dried, colored, bleached, stalks, stem or a specific color and look for those that match what you are looking for.


