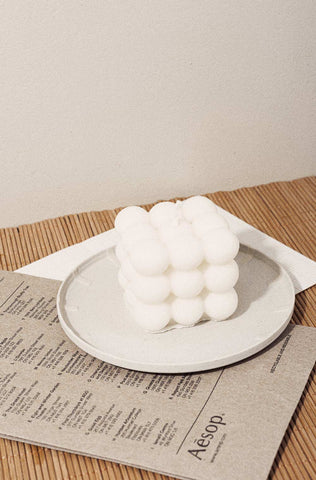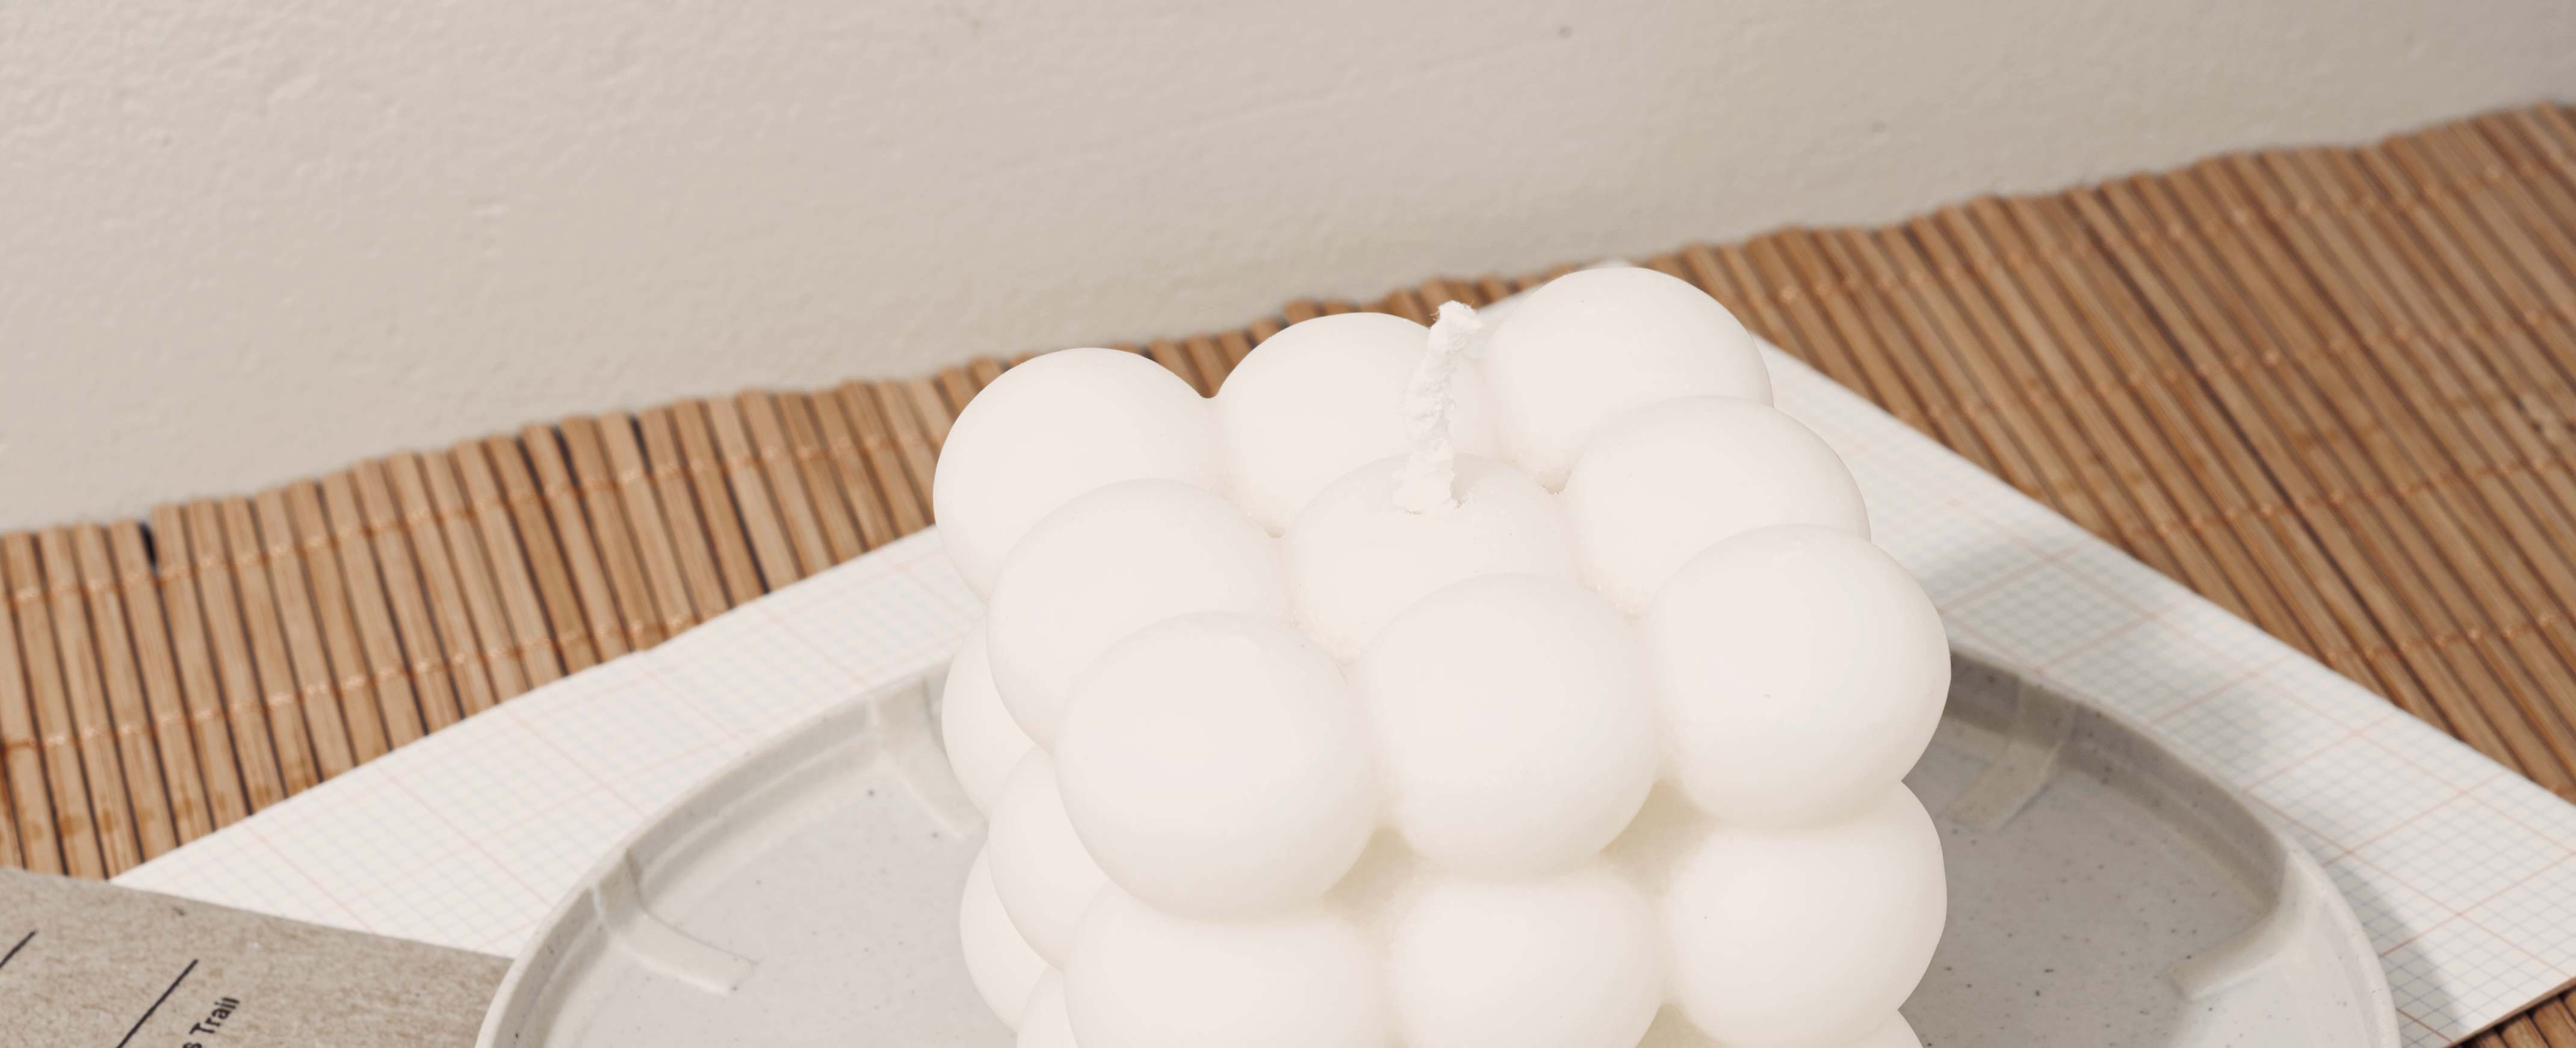
HOMEMADE BUBBLE CANDLES
PASTEL-COLORED BUBBLE CANDLES - STEP BY STEP
Even though you don't need an excuse to dive into creative activities, the state of the world is a pretty good reason to give these popular candles a try. We are developing a fragrance oil and needed a test product - make us jealous and put your own spin on the pastel-colored bubbles.
MATERIALS:
- Pot
- Water
- Bowl / glass for a water bath
- Wax
- Wick
- Stick to hold the wick in place
- Mold
OPTIONAL:
- Color pigment
- Fragrance oil
TIP:
If you don't have wax on hand, you can buy a pack of taper candles, put them in a bag, and smash them with a hammer. This way, you get both wax and wicks. We bought a pack of pure wax from IKEA for 59 kroner containing 50 candles, which gives you around 18 bubble candles.
HOW TO DO IT:
01. PREPARE YOUR WATER BATH
Find a pot and fill it with 1/3 water - turn on the burner and bring the water to a boil while you prepare the remaining materials.
02. WAX + COLOR PIGMENT
Fill a bowl or heat-resistant glass with wax and optionally add color pigment to the mixture. If you mix in pigment, don't be discouraged if the mixture looks a little dark before it hardens - it hardens lighter. That being said, a little pigment goes a long way - be careful not to overdo it and add a little at a time.
03. LET THE MIXTURE MELT OVER THE WATER BATH
Place your bowl or glass over or in the water bath and let it melt until there are no more solid lumps left - it takes time, so while you wait, simply move on to step 04 below.
04. PREPARING THE MOLD
Poke a hole in the mold and pull the wick through - then tie the wick around a stick and pull so that the wick is tight and thus held straight during the casting process.
TIP:
Optionally place your mold on a plate with flour or sugar and press the mold into place with your fingers - this supports the mold so that it doesn't flatten at the top when the wax mixture is poured in.
05. POUR THE WAX IN
Now that your mold is ready and your wax is melted and free of lumps, you can either add fragrance oil or simply pour the wax mixture into the mold. Stir if the color is not completely even and pour until the mold is filled to the top. Save a little!
06. ADD MORE WAX
The wax may sink a little when it solidifies - to get an even bottom, simply poke a hole in the solidified layer and fill it with more wax.
07. FINISH
Let your candle set - optionally shake it and listen for any liquid if you are not sure if the candle has fully hardened. Peel the mold off the candle, cut the wick off the stick at the bottom and trim the wick at the top. If the candle is a little uneven, you can use a butter knife to shave a little wax off the bottom.
08. LIGHT & ENJOY!
The candle is finished! Light it, enjoy it, and make a few more!
TIP:
The mold can be bought individually in several places online for under 40 kroner - you can also buy a mold with 6 so you can cast several candles at once.
Enjoy it (-: